So you have your design, it lays out great on the land and you can almost see yourself relaxing by your outdoor fireplace, a glass of wine in your hand, good friends by your side and the night sky framed by your gorgeous log trusses. Dreams are fun … and then reality hits (at least for us it did).
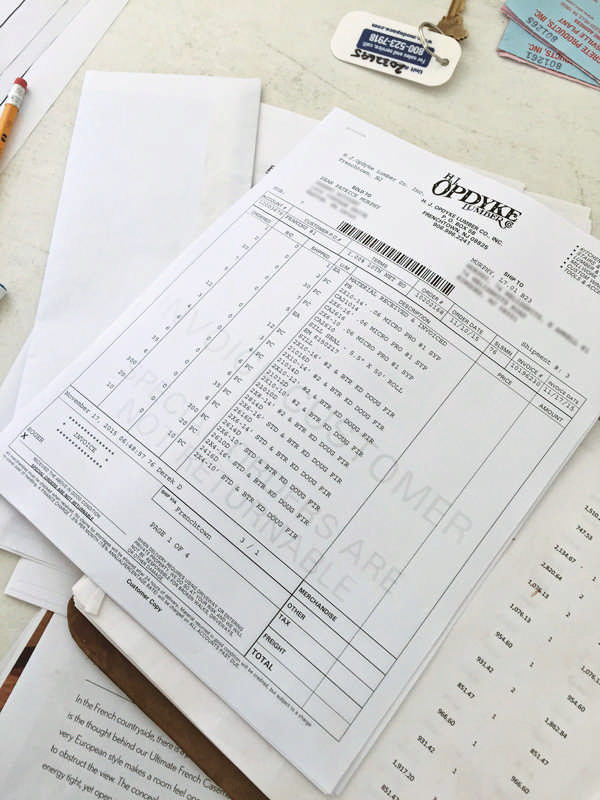
How in the world are we going to pay for this? Are we biting off more than we can chew? Should we wait and save more? I have to admit; I have made my fair share of poor assumptions during our planning process that have required some course corrections to stay within our means. Notice, I used the term “means” and not “budget.”
 Early on, my log “mentor” shared two pieces of advice with me to which I didn’t pay enough attention but have proved truer than anything else so far.
First, when I told him what we were planning, he wrote one line: “Do you know how expensive this is?” I thought, “Sure I do — the internet said an average of $200 per square foot for a normal home, add 10-15 percent for logs … done.”
Not quite. Apparently the internet is about as good at home financing as it is at diagnosing illnesses.
The second thing he said was, “I love my log home now that I am in it. Paying for it while I was building it was stressful, though.”
Now that I am literally in the middle of it, no truer words have ever been said. So, what are a few important budgeting lessons I’d leave to my fellow log home dreamers and planners?
First, be realistic about what you can spend. Know your borrowing power up front and how much of your savings you are willing to commit, then add a little “contingency” and make sure you set that aside. Understand that for most of us, the initial budget is a starting point — it only seems to go up once you actually start building.
Plan for it. Know where you want to put your money and where you feel you can cut back, if necessary. Amanda and I felt it was worth spending outside our budget for things that could not or would not be easily changed later: The logs, windows, foam insulation, geothermal HVAC, quality-framing materials, PVC siding, etc. We knew, if push came to shove, we could limit ourselves on more decorative things like plumbing/lighting fixtures, flooring choices or cabinetry. Even our roofing choice was something we felt we could scale back if needed.
Those things, could and would be replaced in 15 to 20 years down the line — you know, once the kids were done destroying things. Second lesson: Communicate your realistic budget to your team, but especially to your designer and general contractor, from the very beginning. They are not there to take advantage of you (after all, they don’t want to be contracted to design and build a home that might never come to fruition) so be open and honest.
Be aware that designers from outside your area might not know local construction costs, so your GC/builder is a vital part of that discussion. If you use a local architect, you might not have the same concerns, and they can be used to help manage your project, if you so desire. Regardless of your team’s composition, being on the same page will help immensely later on.
With our finances largely understood, a rough budget sheet worked out and an open mind to make adjustments to that vision of sipping wine on the deck in front of an outdoor fireplace, Amanda and I were not only ready to set a stake in the ground and transform our vision into reality, we were excited about it.


_11868_2024-09-17_08-44-256x288.avif)


